
This is a guide to using the form to submit events to the events calendar at arjeploglapland.com
1. Title
Fill out the name of the event.
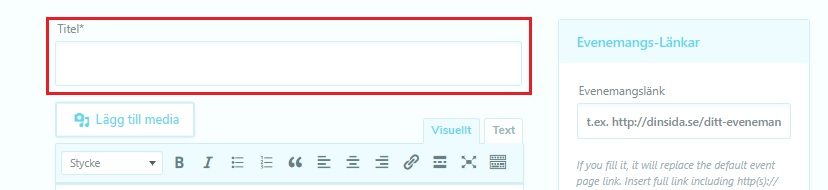
2. Add media
This is where you add images that will be visible on the right hand side when visitors read about your event. (Later, under “Featured image” is when you add the preview image that will be featured in the calendar overview.)

3. Description
Adda a description of your event in the area under the “Add media” button. This is the text that will attract visitors to your event, so put at little time and energy into it. There is no need to write about price, place and organizer, since that will be added later.

4. Date and time
Enter the starting time and day, and the ending time and day (even if the event starts and ends on the same day).
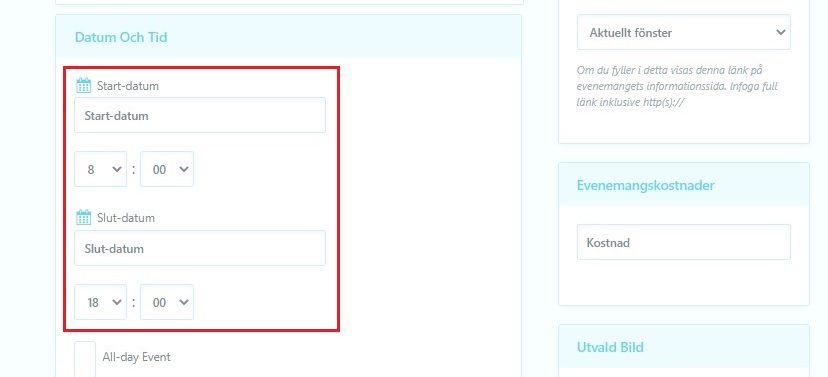
Check this box if the event takes place during an entire day (without any particular starting- or ending time).

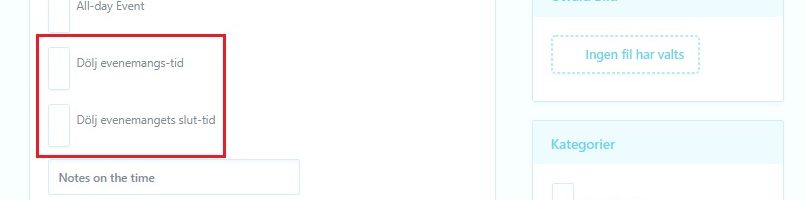
You can also choose that the event time will be completely hidden (not recommended) or that the ending time of the event will be hidden (if the event does not have a particular ending time).
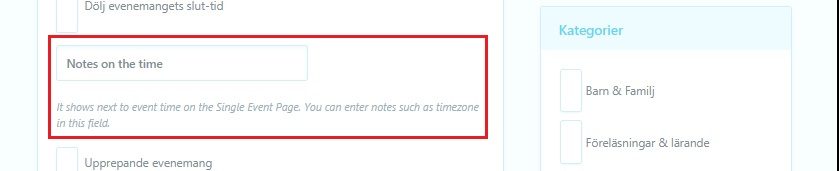
In the box “Notes on the time” you can fill out any notes to be visible next to the event time. This could be for example “remember to please be there 5 min early” or “doors open 30 min before the concert starts”.
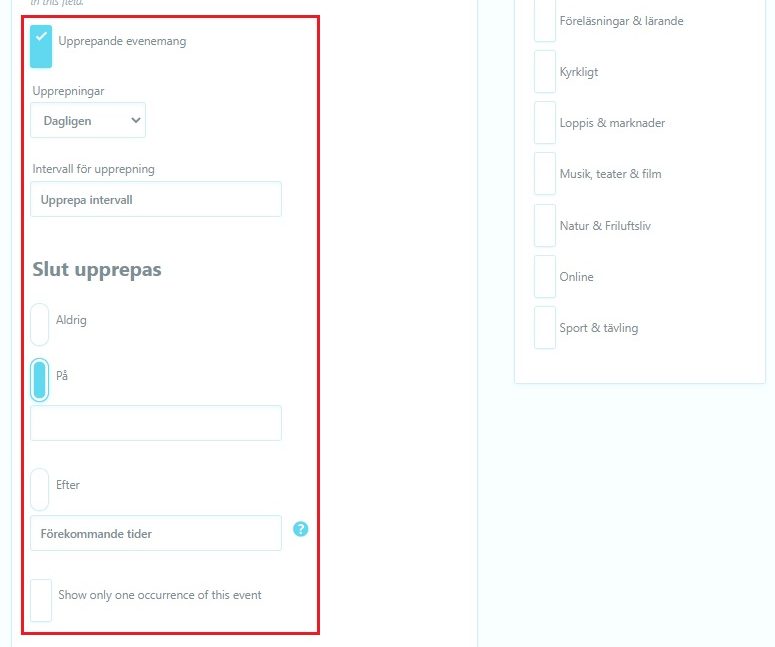
Event repeating. If your event is a recurring event (for example every week or every month), check this box and enter how often your event takes place. Under “ends repeat” is where you enter when the repetition should stop. We recommend to check the box “on” and enter an end date by clicking the field under the box and choose a date.
5. Location
Enter your event location. Choose a location from the list or insert a new location. When creating a new location, enter the location’s name, coordinates (optional) and an e-mail adress if there is one. By clicking “Ingen fil har valts” you can upload an image to represent the location.
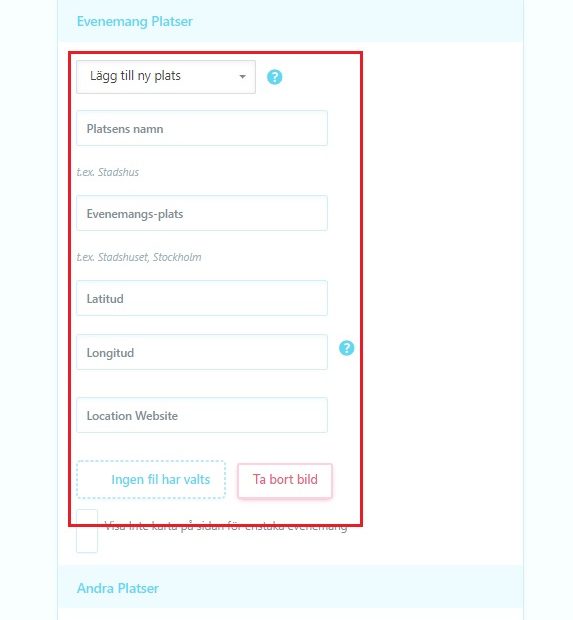
If your event takes place at more than one location, which might be the case for bigger events, you can add more locations under “Andra platser”.
6. Organizer
Under ”Event Main Organizer”, enter the organizer of the event. If not, the event will not be approved. Choose an organizer from the list or add a new one in the same way as a location is added. If you don’t have a high quality image to represent the organizer, a logo might also be accepted.
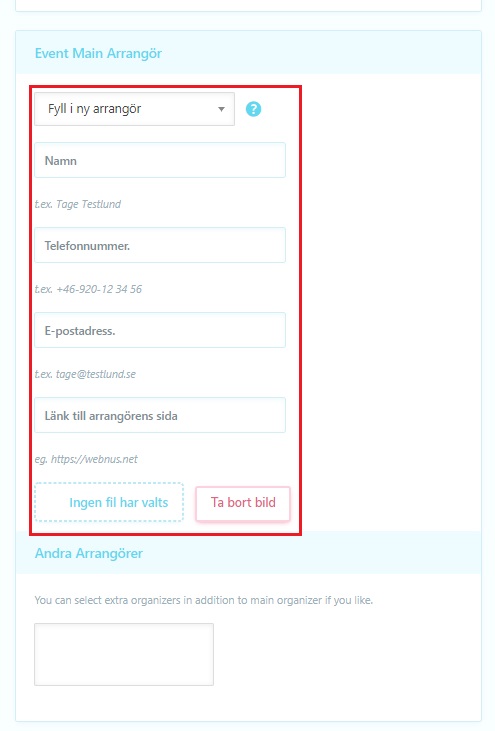
If you are more than one organizer, you can add more under “Andra arrangörer”.
7. Event links
At the top right of the form you can add a link to the event. Note! The link must be entered in the box “More Info”. The top field named “Evenemangslänk” or “Event link” must be left blank.

Only links that go straight to more information on the event in question will be accepted. Links of a general nature, for example to the organizers home page, will not be approved.
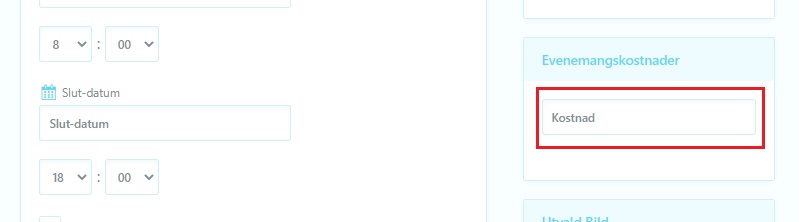
8. Event cost
Enter the price to visit the event. If there are several different price levels, we recommend entering an example price and using the description to tell the reader about the different price levels.
9. Featured image
This image will be visible on the top of the page when visitors read about your event, and as a preview image in the calendar overview. It is essential to include a featured image. Remember to choose an image that represents the event and is of a high quality. The image needs to be landscape format. The optimal image size is 720×400 px but it is not a requirement.

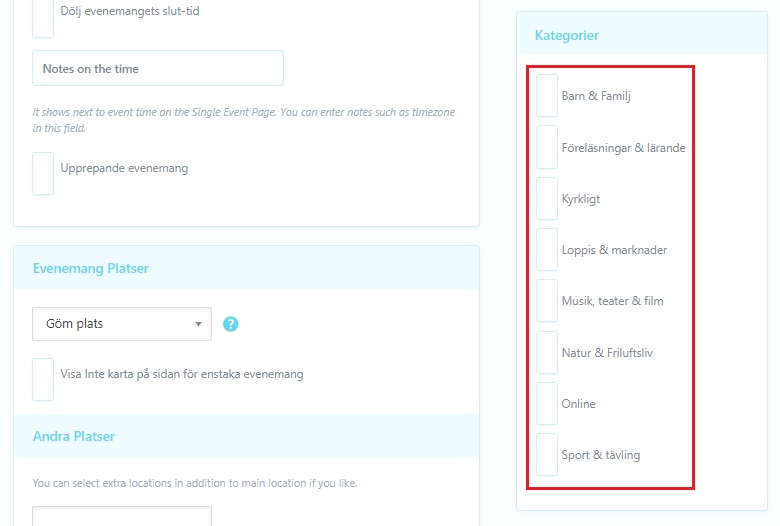
10. Categories
Check the boxes of the categories that your event belongs to. It is not possible to add new categories.
11. Note to reviewer
Add any notes that will only be visible to the reviewers at Arjeplog Lapland.
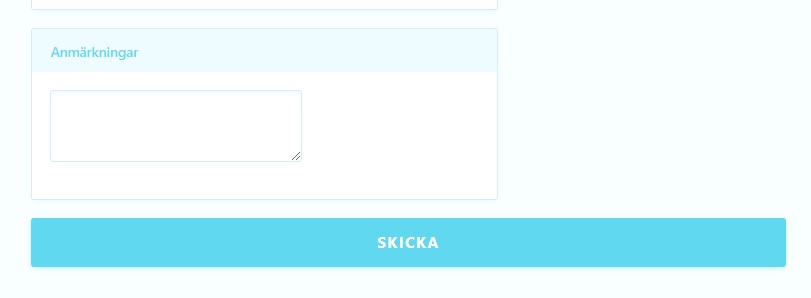
Click “submit” and your event will be submitted to Arjeplog Lapland for review. You will recieve an e-mail when your event is approved and published.